FAQ
What can I measure using VitiCanopy?
VitiCanopy measures the canopy size of plants using image and pixel analysis to give the following outputs:
• Plant Area Index (PAI) = canopy size as the sum of leaf and non-leaf material.
• Canopy Cover = proportion of the image area covered by the vertical projection of foliage and non-leaf material.
• Canopy Porosity = proportion of the image area not covered by the vertical projection of foliage and non-leaf material.
VitiCanopy also allows users to assess the spatial variability of these parameters in a vineyard block (if enough images are taken) by providing a real time geolocated map of the block imaged.
Does VitiCanopy measure a vine’s leaf area?
VitiCanopy measures the Plant Area Index which is highly correlated to the vine’s leaf area. However, it is an index and not an absolute value. If you are interested in obtaining an absolute value for your vines you will need to calibrate the results for your specific vineyard.
I have never used VitiCanopy, how do I start?
This short video will help you get started with using VitiCanopy and give you some practical information to obtain good results: https://youtu.be/OmXCELZnwkE
Can I use VitiCanopy at any time of the day?
VitiCanopy can be used at any time of the day as long as the sun does not appear in the image. It is recommended to take images early in the morning (after predawn), late in the day (before dusk) or in overcast (cloudy) conditions.
How do I take a canopy photo?
We recommend that the images are taken using the front camera of your phone so that you can see the image to be taken on the screen and instantly judge its suitability for analysis.
We also recommend the use of a “selfie stick” for operator comfort.
Ensure your camera is in the correct orientation mode, if possible lock the orientation.
Photos can be taken in two ways: from underneath the vine or from the midrow.
1) PHOTOS FROM UNDERNEATH/UPWARD LOOKING
Place your device directly under the vine you need to image with the camera facing up (as shown below).
Ensure the camera is imaging in portrait mode.
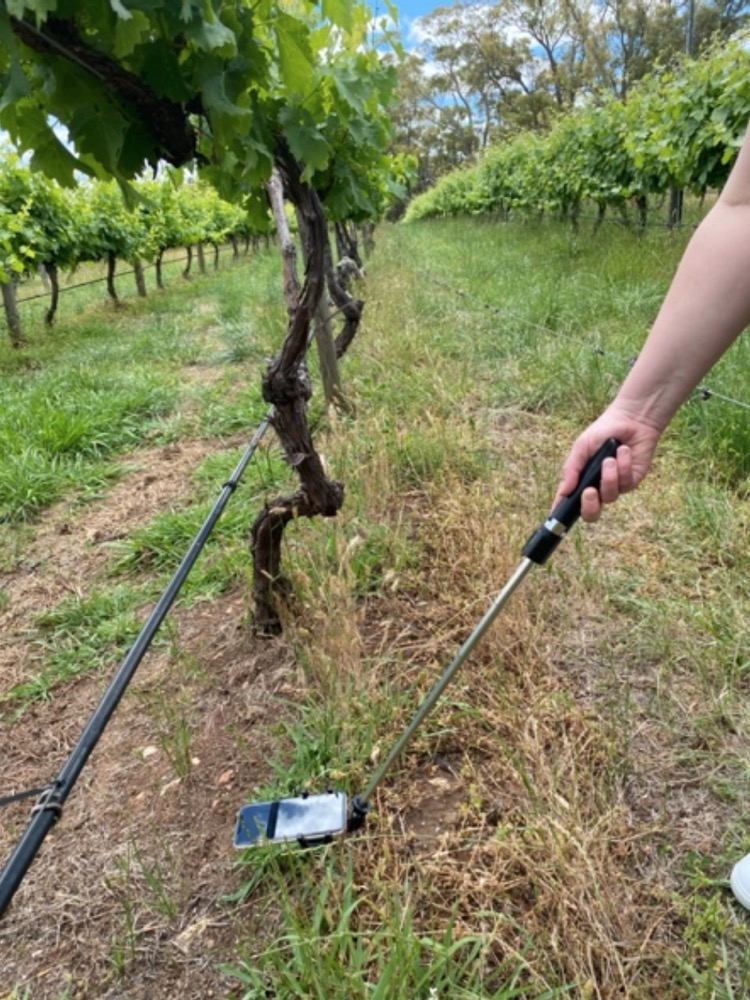
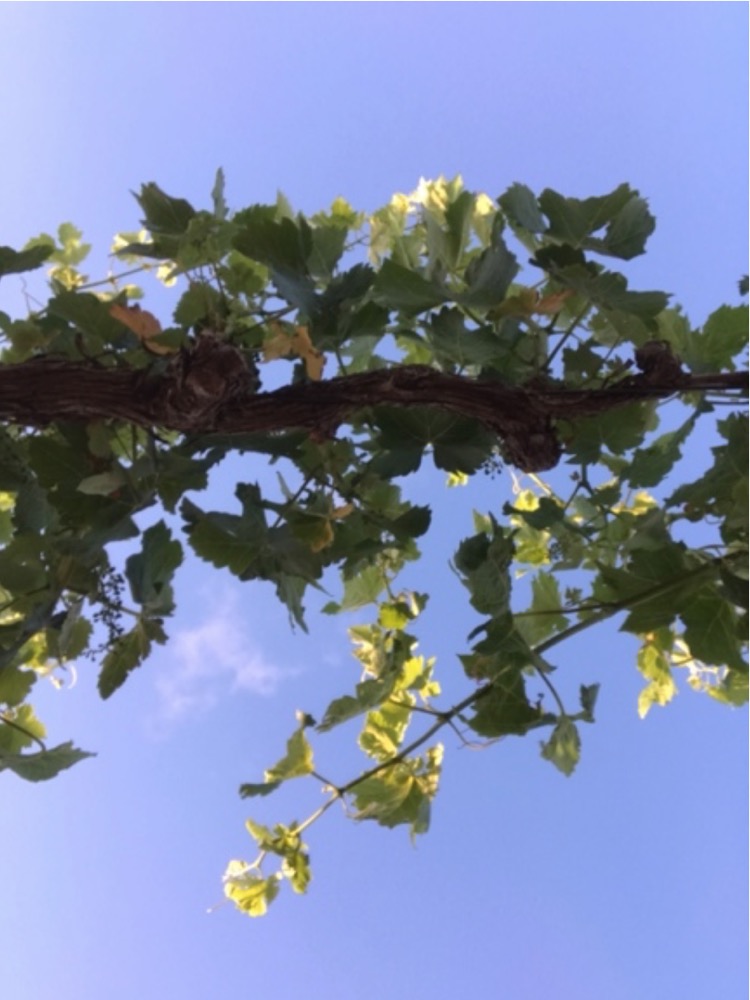
In this method, care should be taken when imaging the target plant to position the cordon at the centre of the image.
Our trials and experience suggest that the optimal distance from the cordon to take upward-looking images from grapevine canopies is approximately 70 to 80 cm.
You should aim to obtain an image like the one shown below.
2) PHOTOS FROM THE MIDROW, 30° ANGLE
Photos can be taken by using the front camera of a device positioned at a 30-degree angle with the ground (as shown below).
Ensure the camera is imaging in landscape mode.
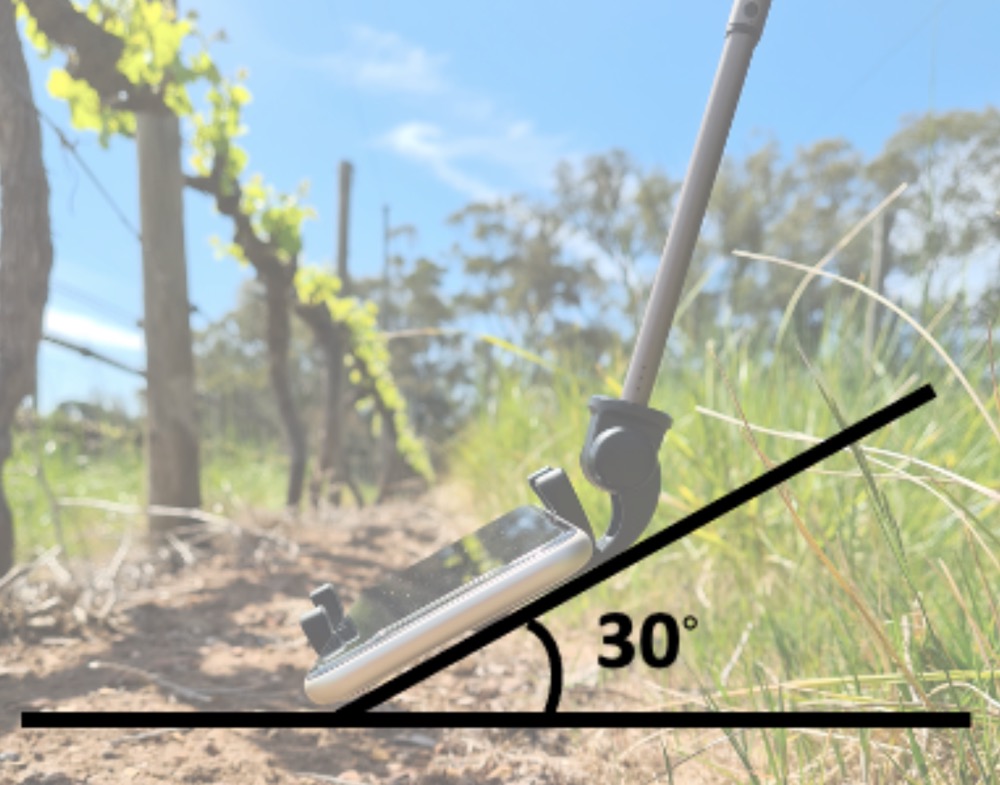
In this method the aim is to capture the whole canopy where the vine’s cordon will appear at the bottom of your image and the sky would still be the background (see below).
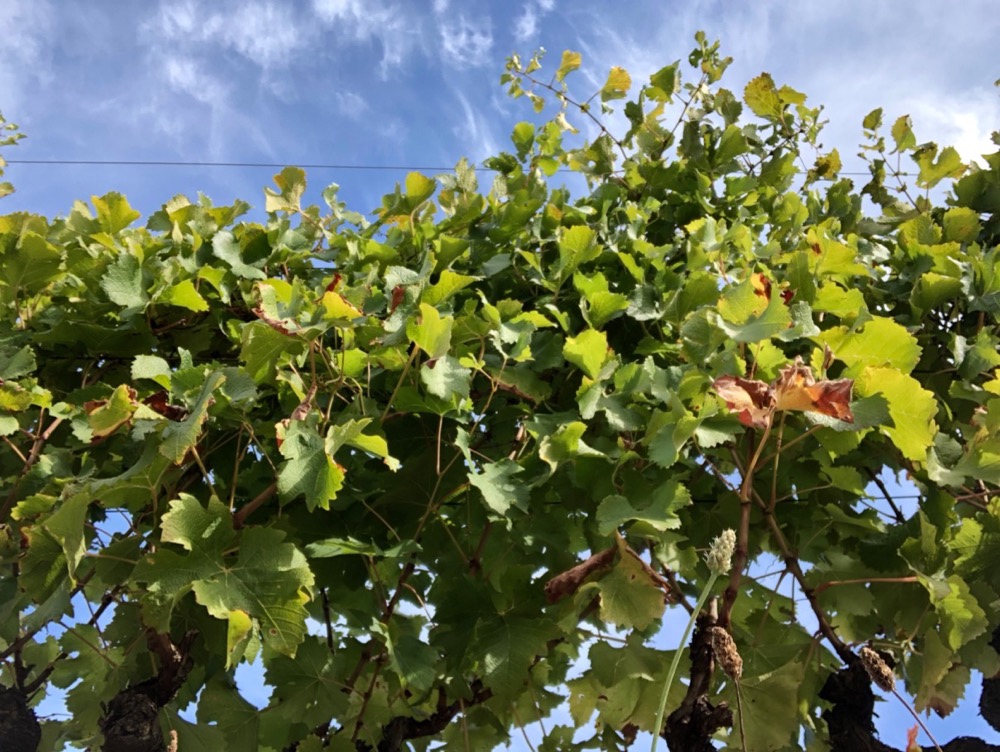
The distance between vine and device will depend on the dimensions of your vineyard.
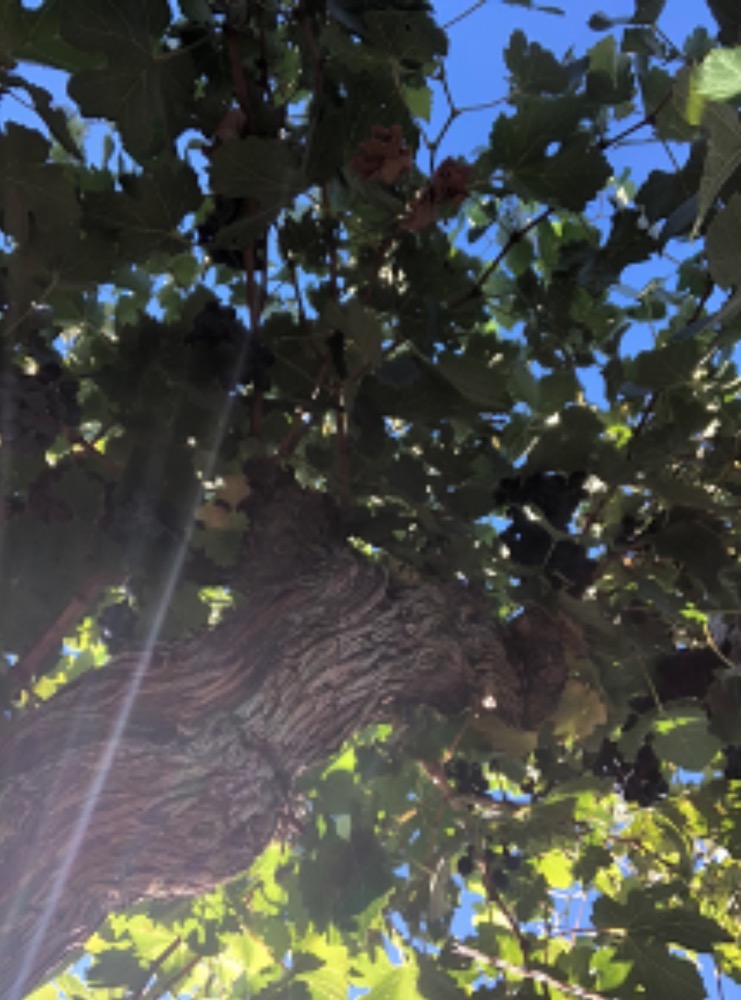
NOTE: It is important that there is no direct sun filtering through the canopy resulting in flaring as this will cause the image to be unsuitable for analysis.
Does the way I take the photo influence my results?
Yes.
Images need to be either upward-looking or taken from the midrow with the device on a 30 degree angle as shown in the photo below.
Capture as much canopy as possible in your photos within the above guidelines.
Why do I need to enter my personal information to download VitiCanopy?
Very few personal details are taken, some contact information is required to allow communication for development modifications and future updates and features as they become available.
How many images should I take?
For spatial variability assessments, our experience suggests that one photo per panel on every second row provides a good mapping resolution.
Practice on a small area and tailor the spatial resolution to your specific needs.
I don’t want to bend to take the images, what can I do?
The use of a camera remote trigger and the mounting of the device on a selfie stick is recommended.
Do I have to have the GPS enabled when using VitiCanopy?
The GPS does not need to be enabled to take an image and obtain a result however, if mapping is required the GPS MUST be on.
What happens if the sun is in the image or there is glare from the sun?
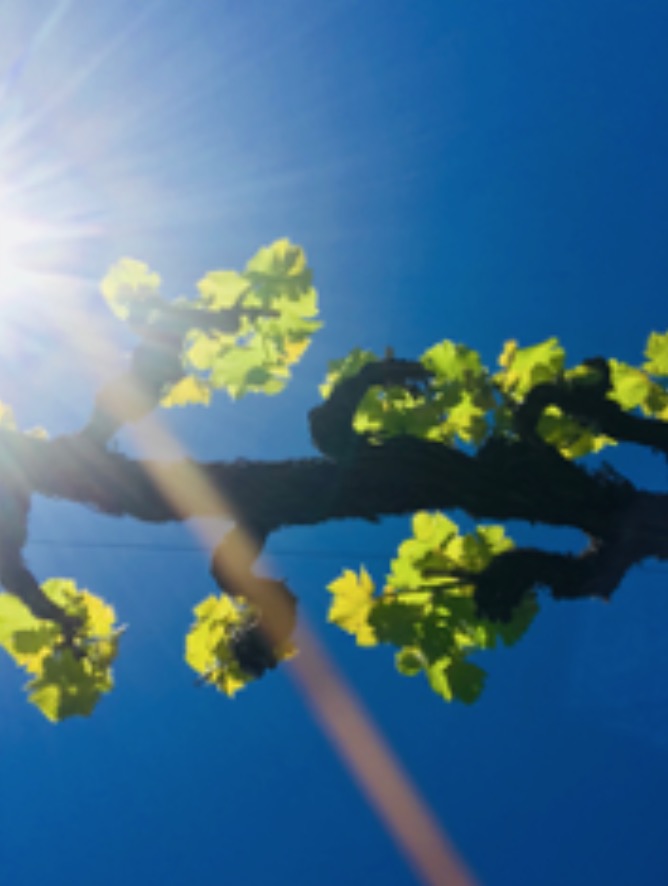
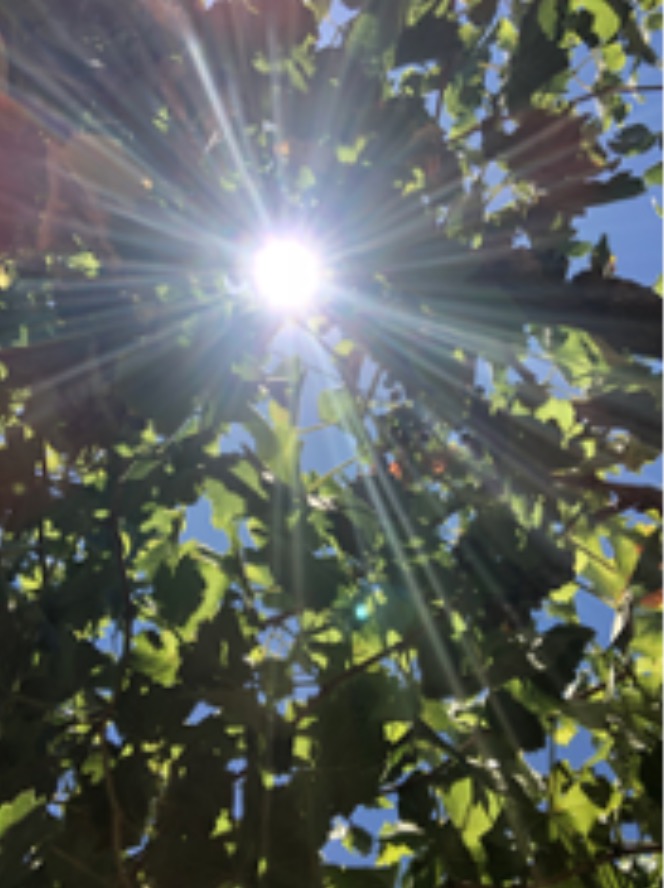
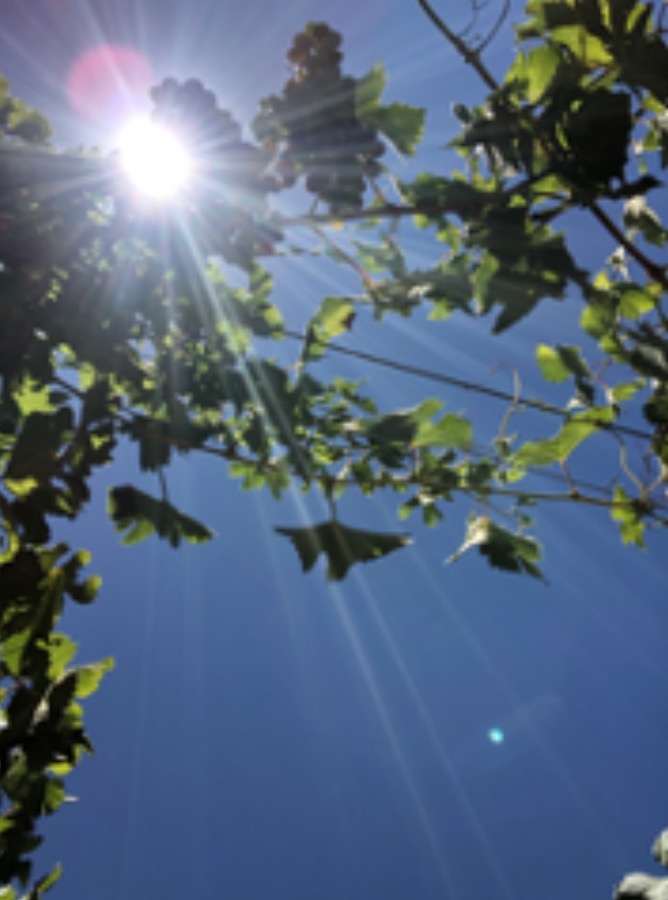
If the images are taken on sunny days and the sun is visible in the image it will not be suitable for analysis and will have to be retaken. Images like this are likely to produce unreliable results.
Some of my images have weeds, posts or other plants in them, is that still ok?
When taking images make sure that only the target plant is photographed. Other plants such as weeds, trees in the distance or overhead could accidentally be captured and may influence the results.
I cannot fit the whole canopy in the image
Not all training systems are suitable for assessment using VitiCanopy. If the canopy is too large to fit in the image the results will be inaccurate.
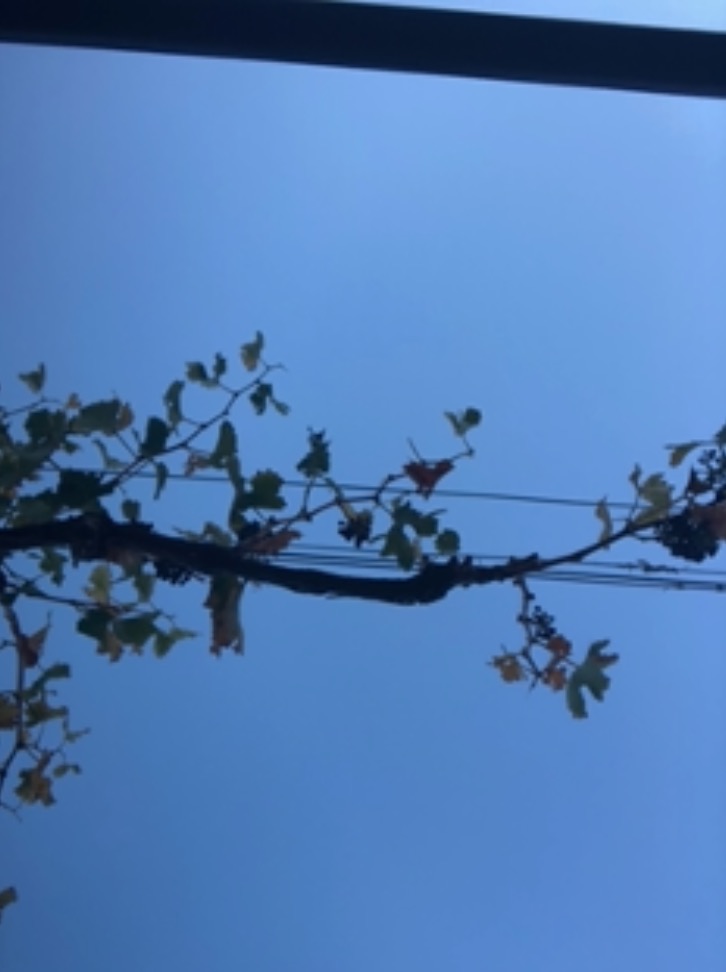
How do I deal with the irrigation line?
Care should be taken to avoid the presence of the irrigation line in the photos.
If anything other than the vine and canopy appears in some images, will the results still be accurate?
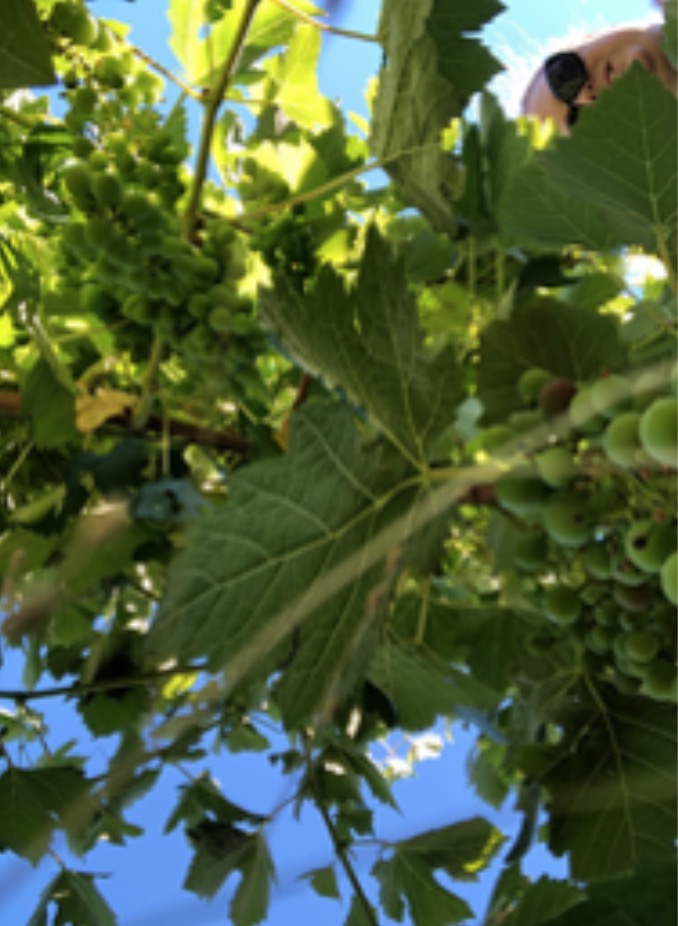
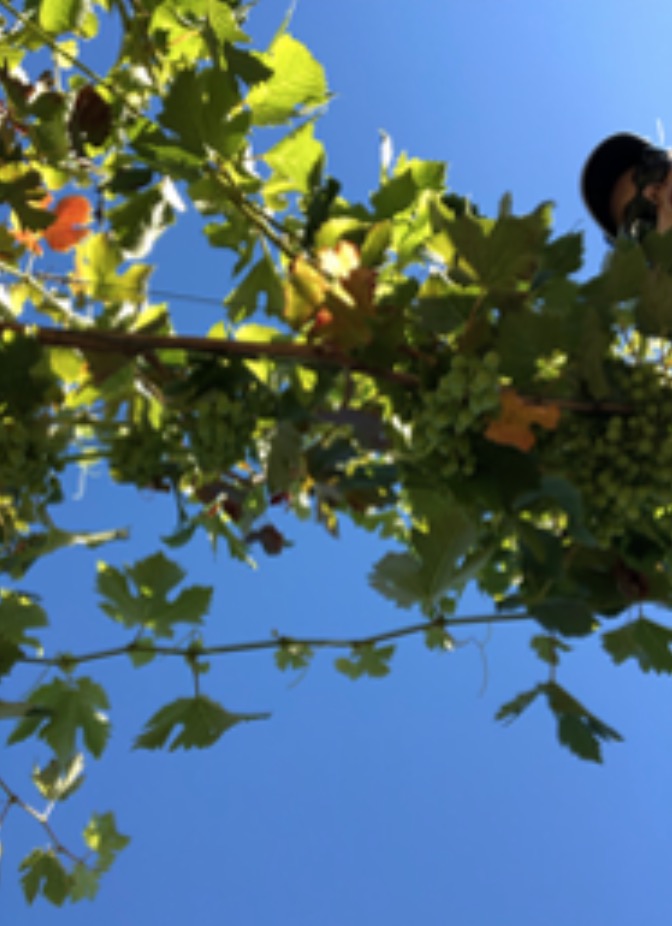
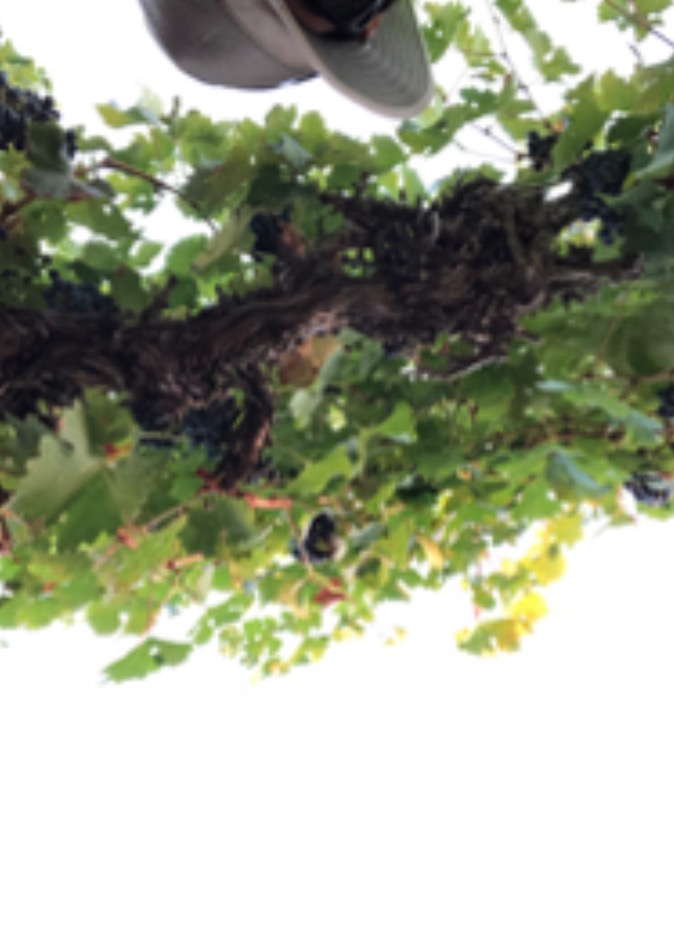
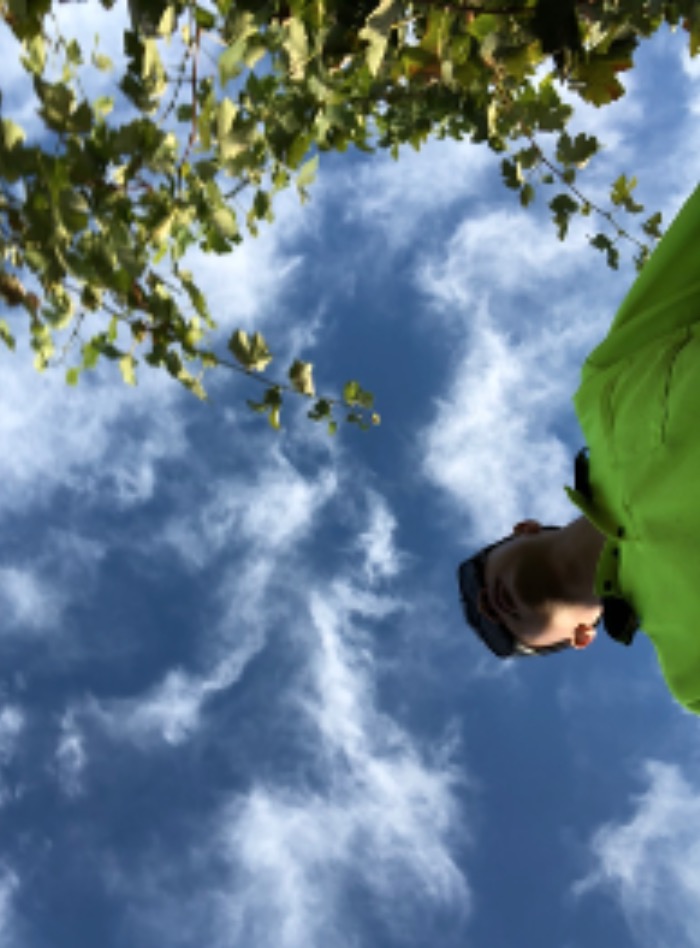
If your head or fingers or trellis posts are included in the photo the results will not be accurate.
What does a good photo look like?
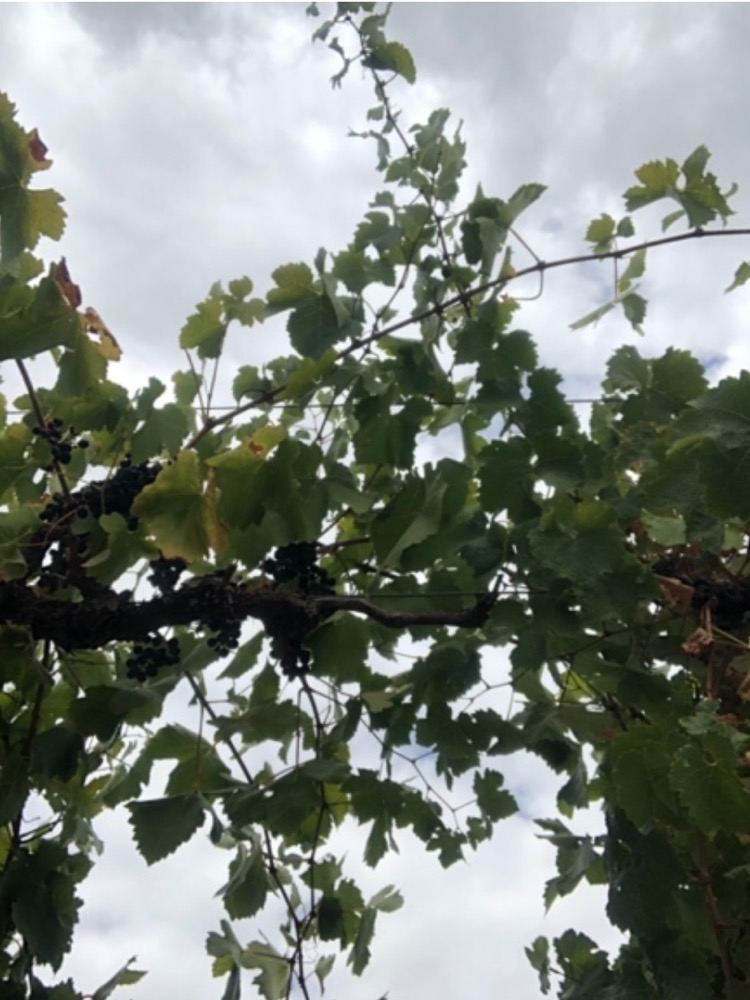
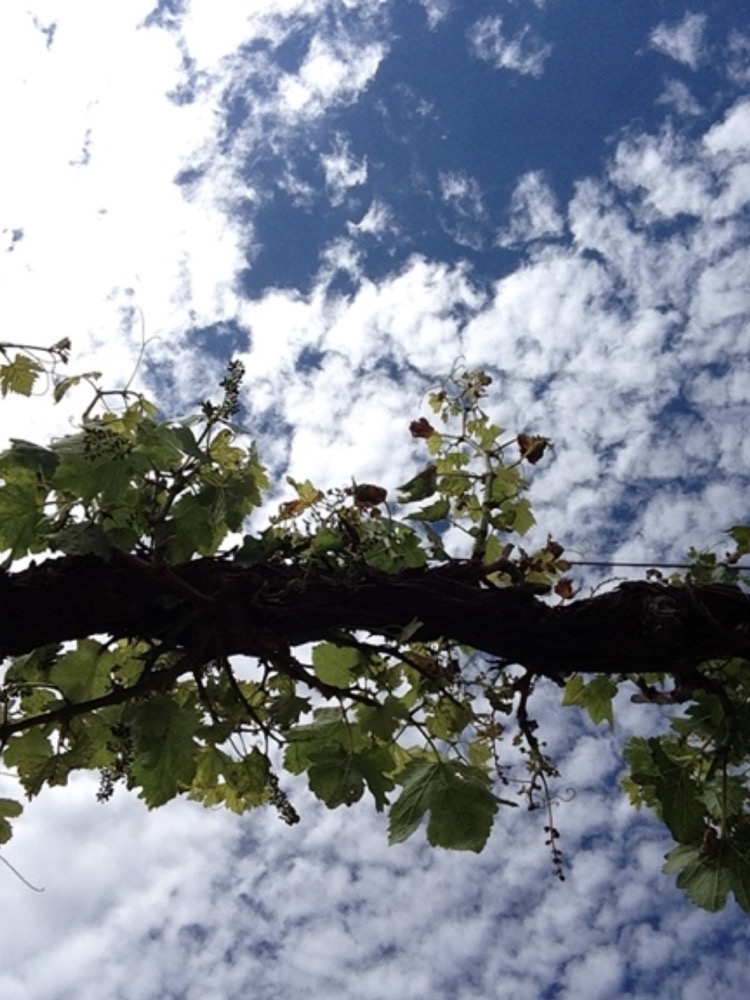
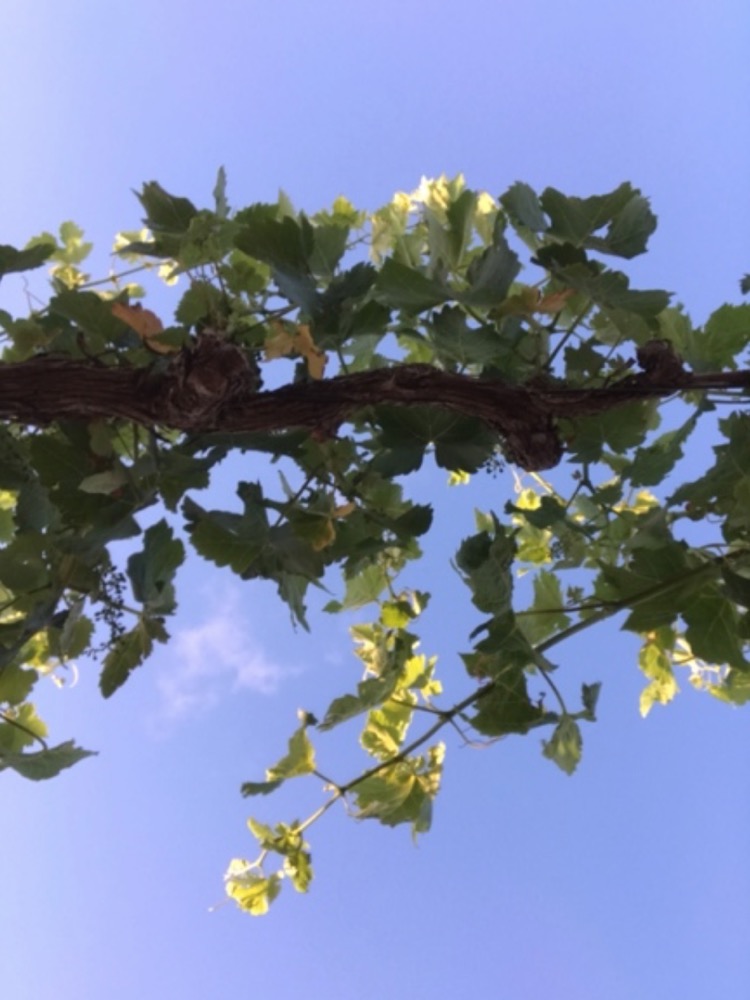
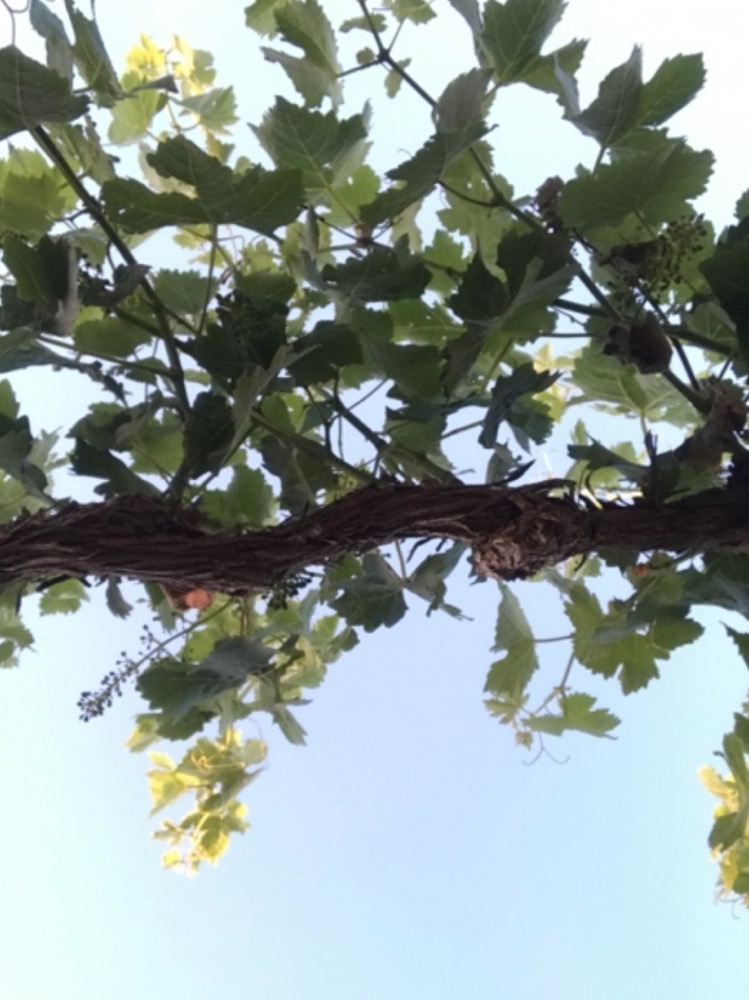
Below are examples of images suitable for analysis with VitiCanopy using both methods.
1) PHOTOS FROM UNDERNEATH/UPWARD LOOKING
The photos below have been taken in days with different sky conditions (cloudy and sunny) and they are all suitable for analysis with VitiCanopy.
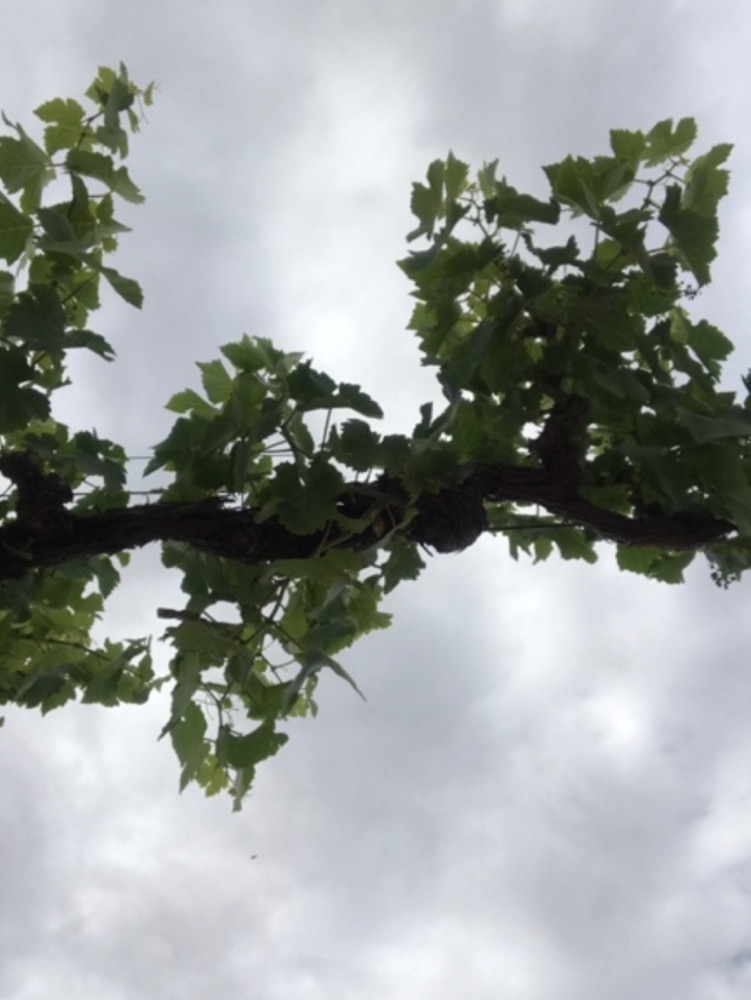
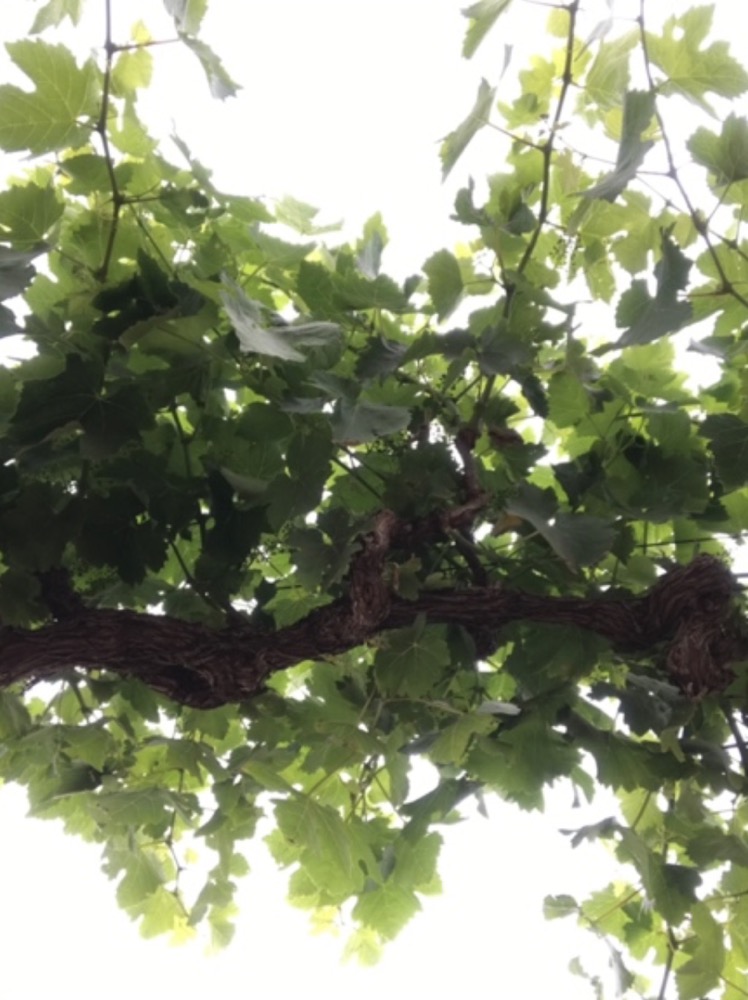
2) PHOTOS FROM THE MIDROW 30° ANGLE
The images below have been taken with ideal sky conditions, they also meet the criteria of placing the cordon at the bottom of the image and capturing the whole canopy height.
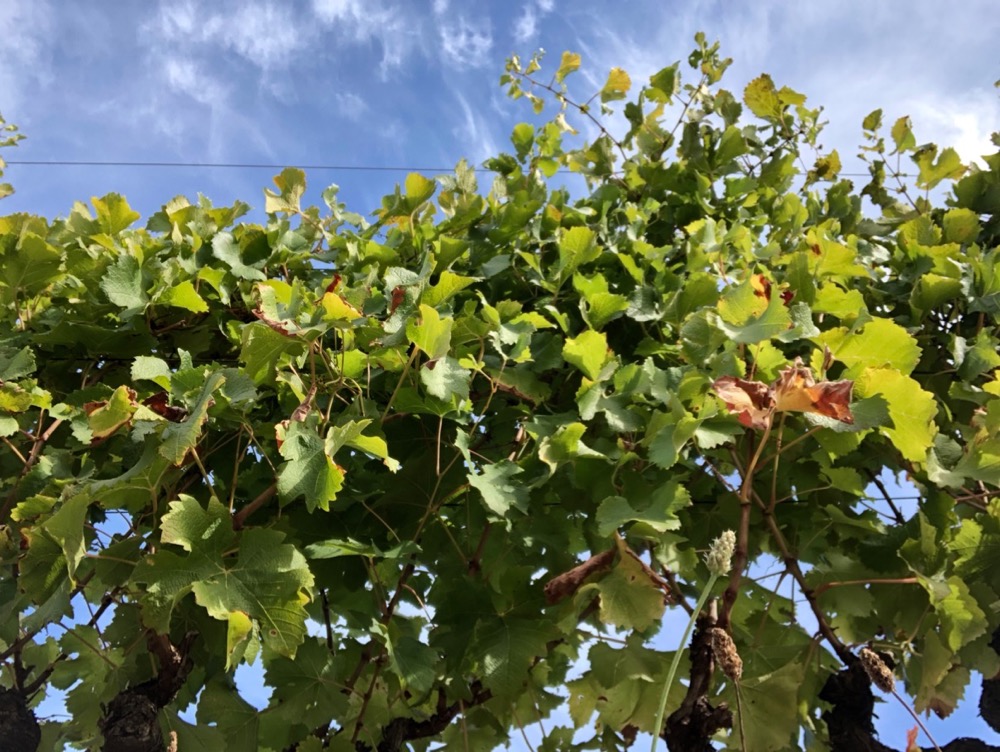
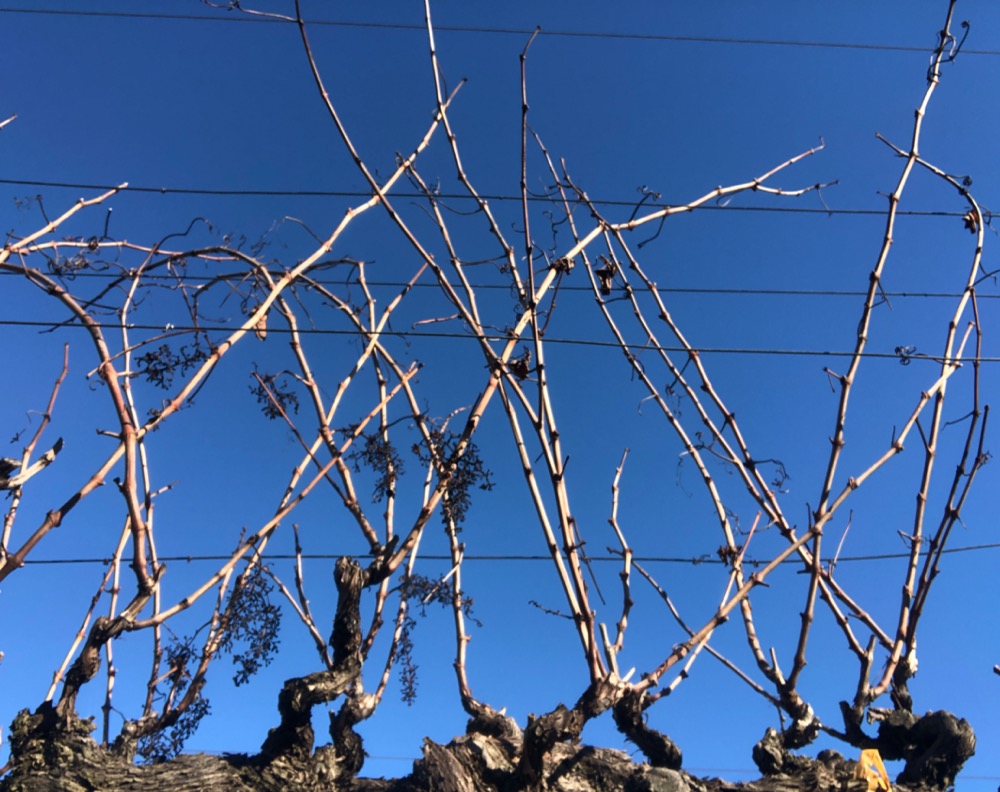
What does a bad photo look like?
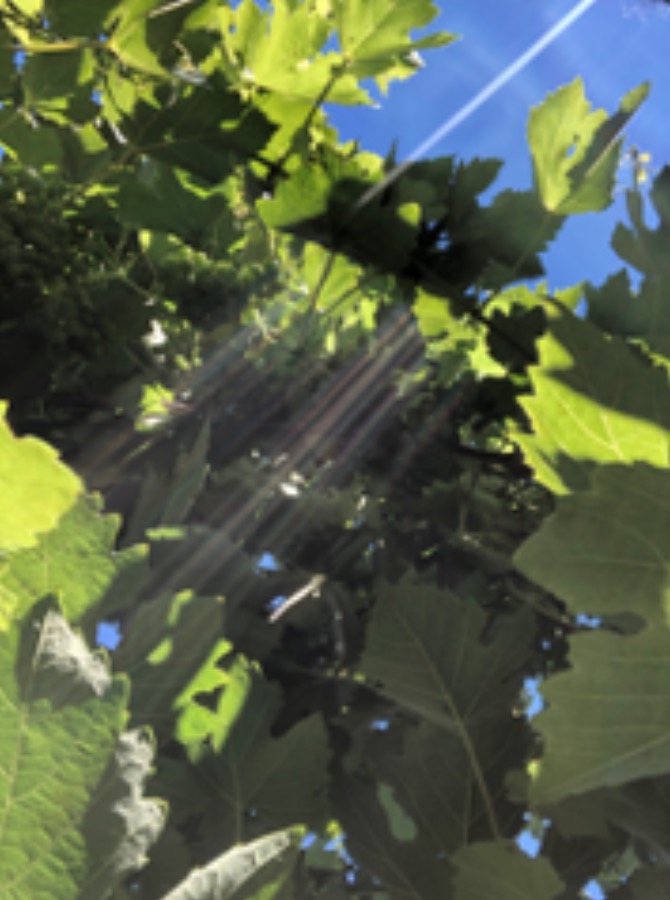
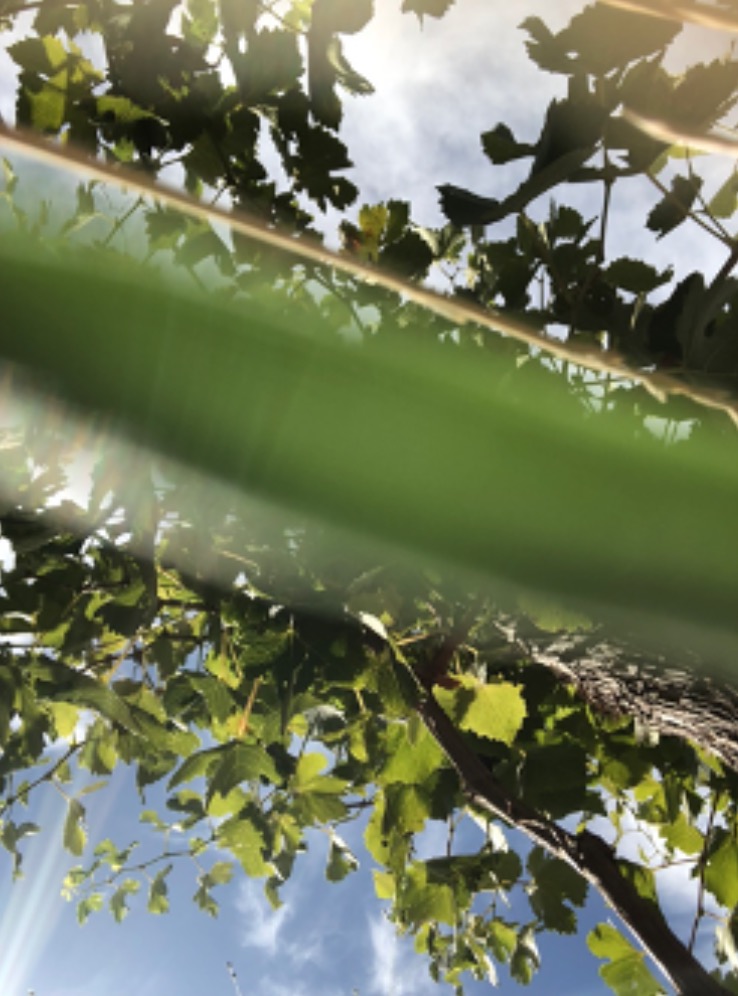
Below are examples of bad images, subtitles indicate the reason they are unsuitable.
SUN IN THE IMAGE
HAZY IMAGES
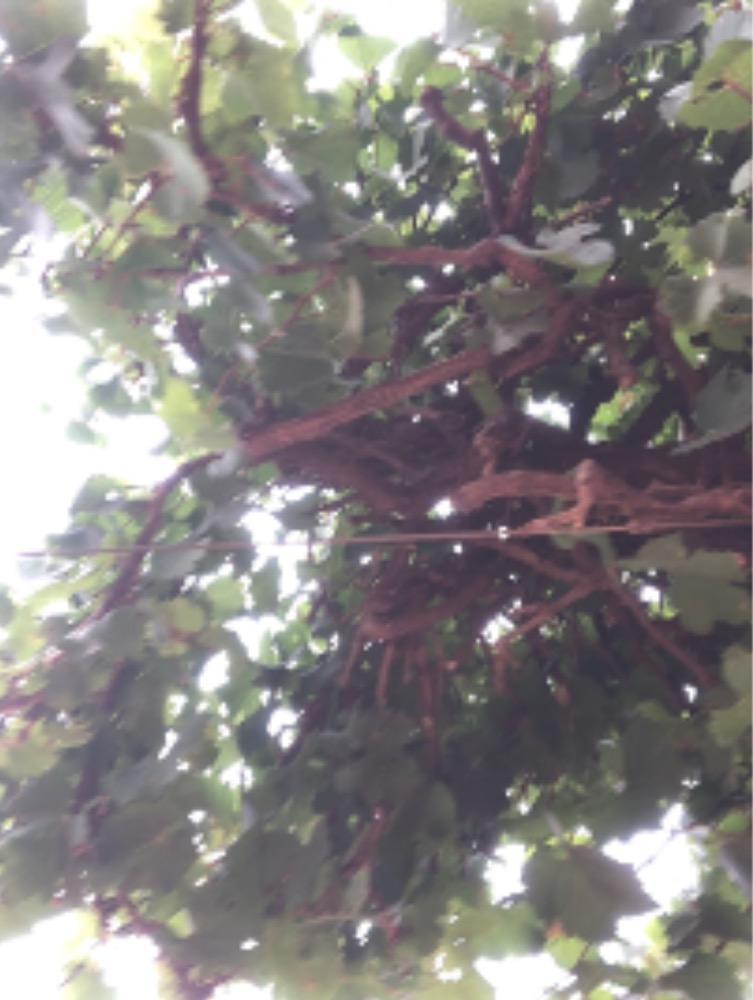
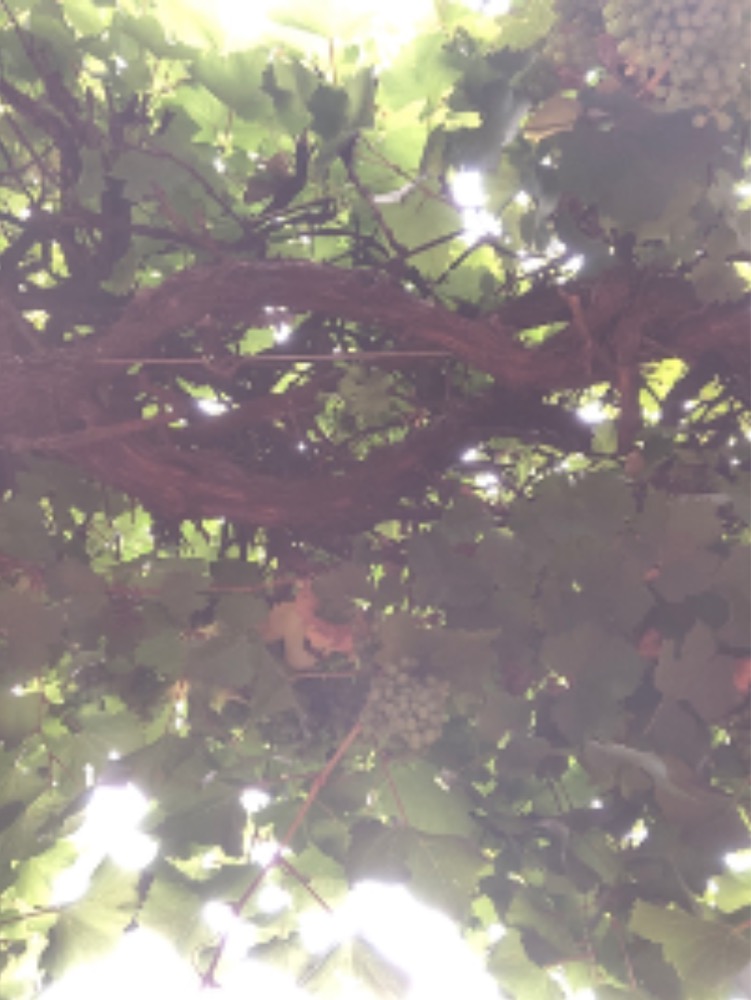
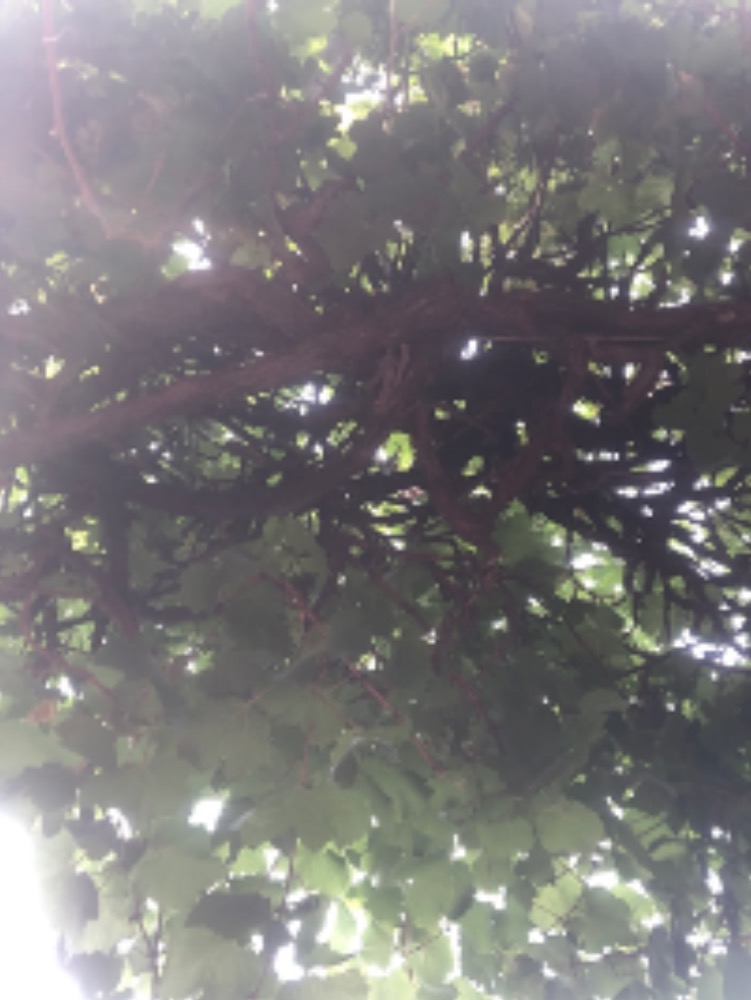
IRRIGATION LINE
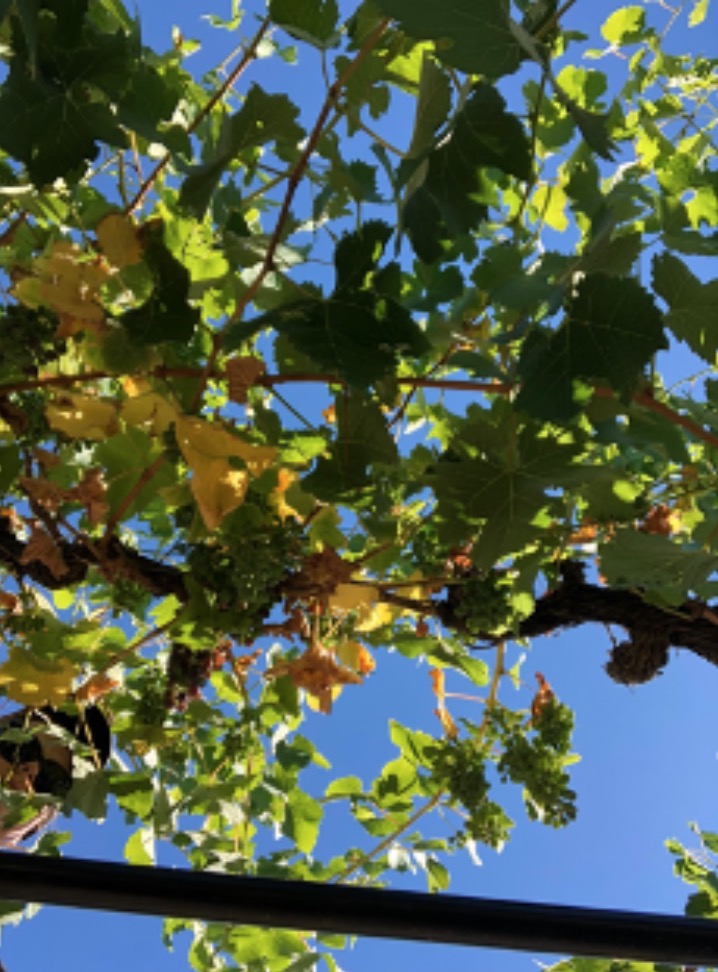
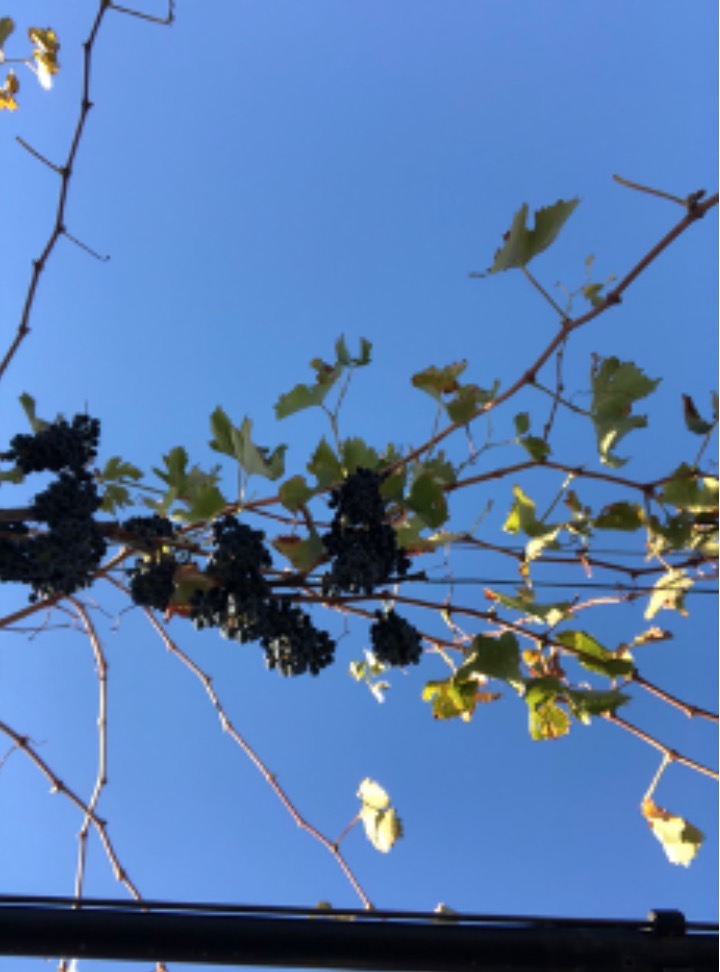
WEEDS
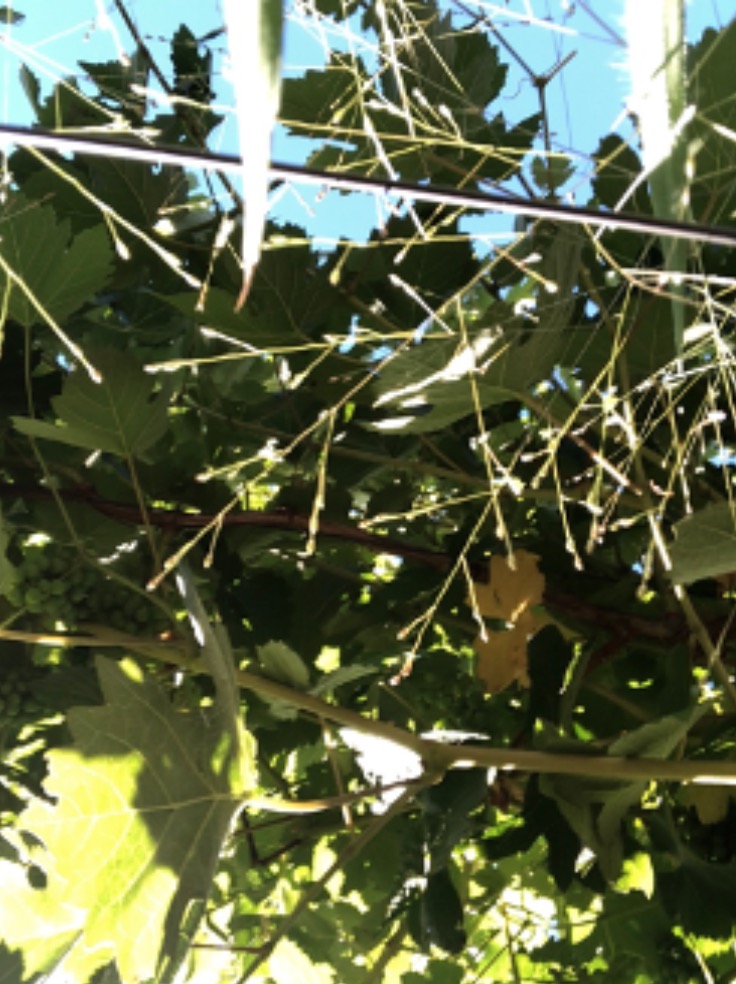
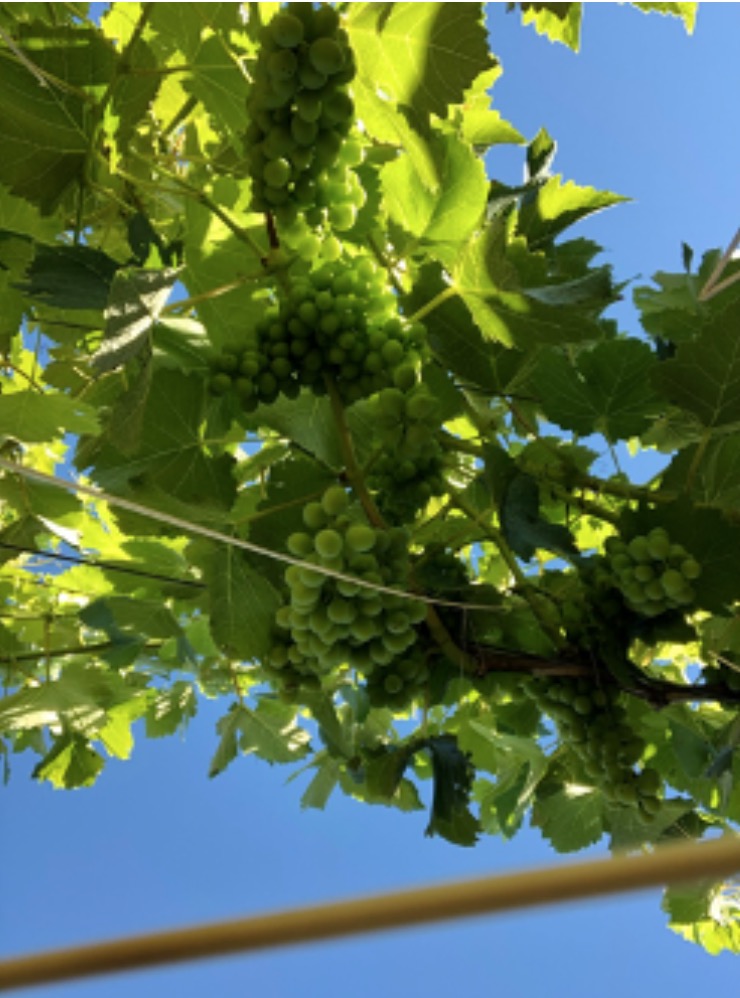
HEADS
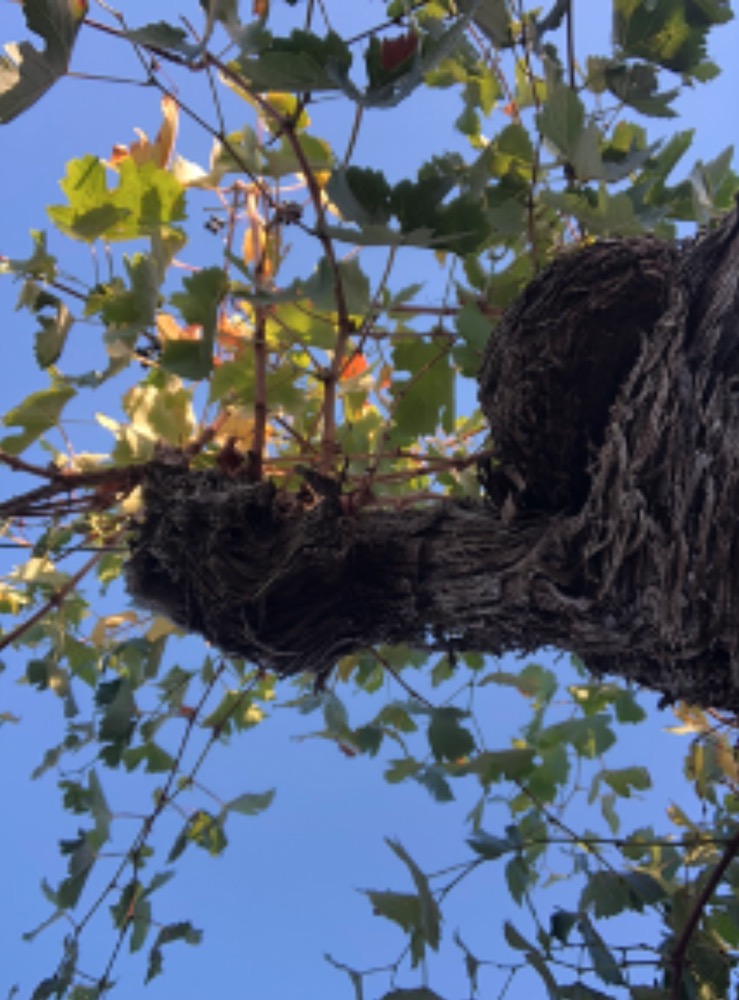
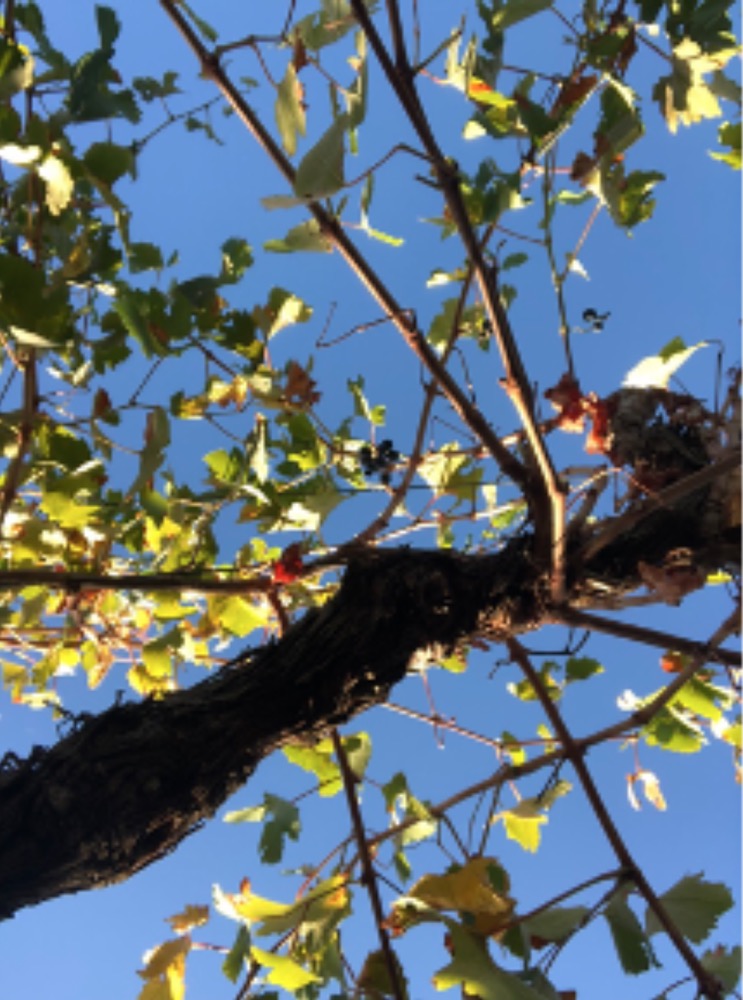
TRUNKS
The map is mostly red, what is the problem?
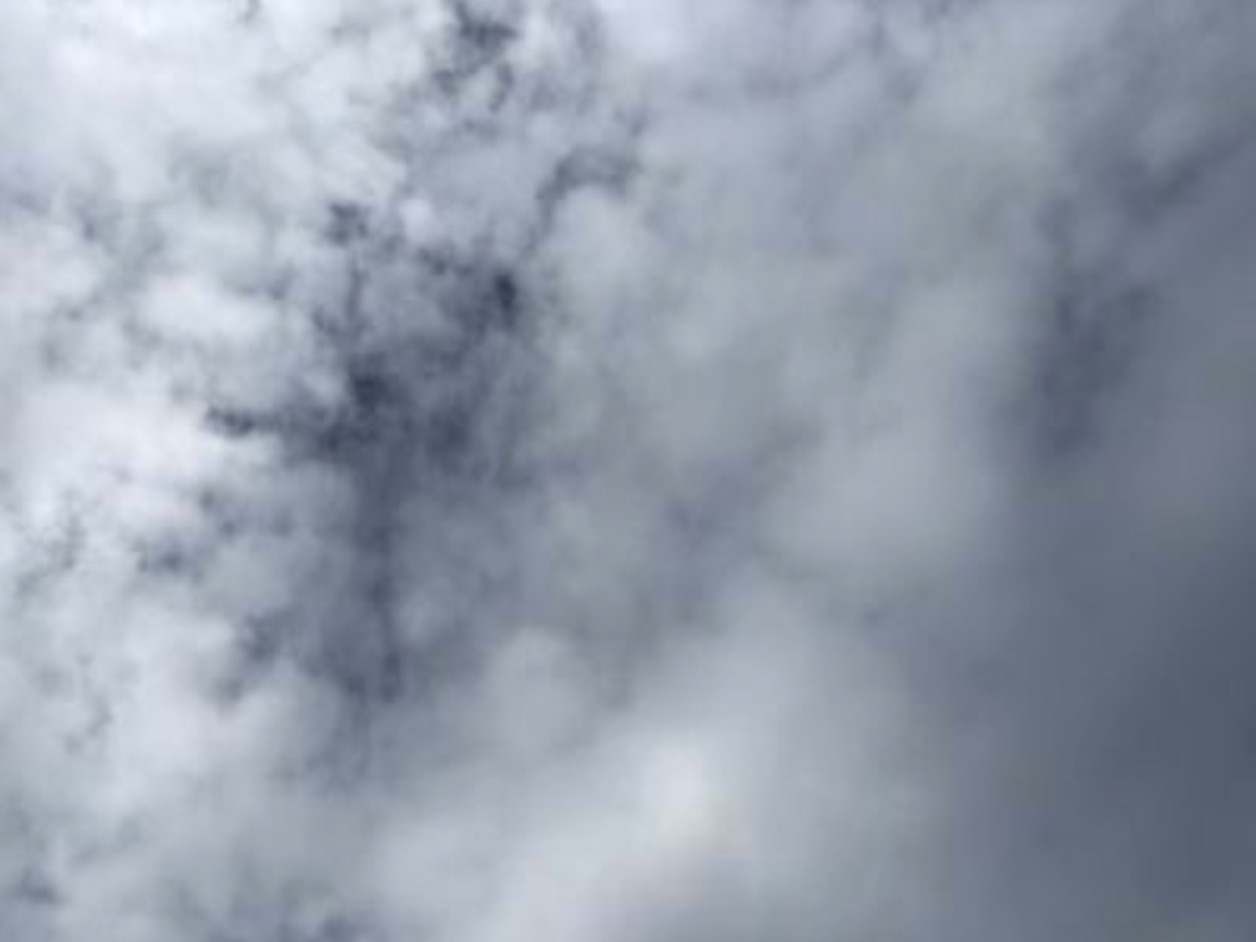
For some images, the code fails to analyse them producing a cover value of 1 and thus a very high PAI value.
Below is an example of an image that could not be analysed, this photo corresponded to a position with a missing vine (photo of the sky): :
The example below includes step by step instructions of how to solve the issue (identify and delete the images).
In the map below the scale shows that one or more images (the ones producing the blue patch) are giving us a PAI value of over 9. This is not a true result; this is an issue related to the code failing to threshold the images and it is related to the image itself.
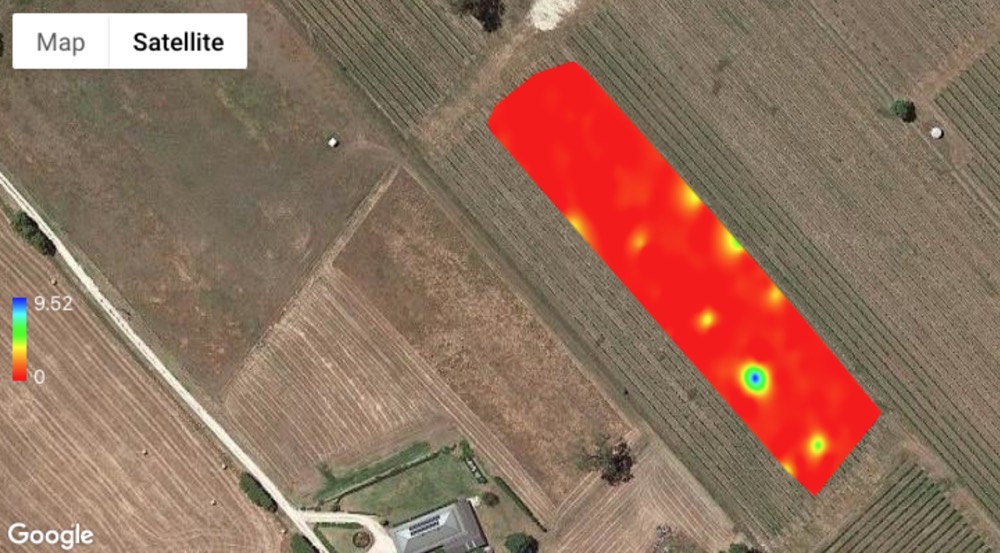
To overcome the issue, you need to download the .csv file for this specific map and look for this high value. Generally, a Canopy Cover value of 1 and a big gaps value of 0 might indicate an issue, so start there.
In this case the map is created from 241 images and when checking the .csv file, 9 of these images produced a cover value = 1 and big Gaps = 0

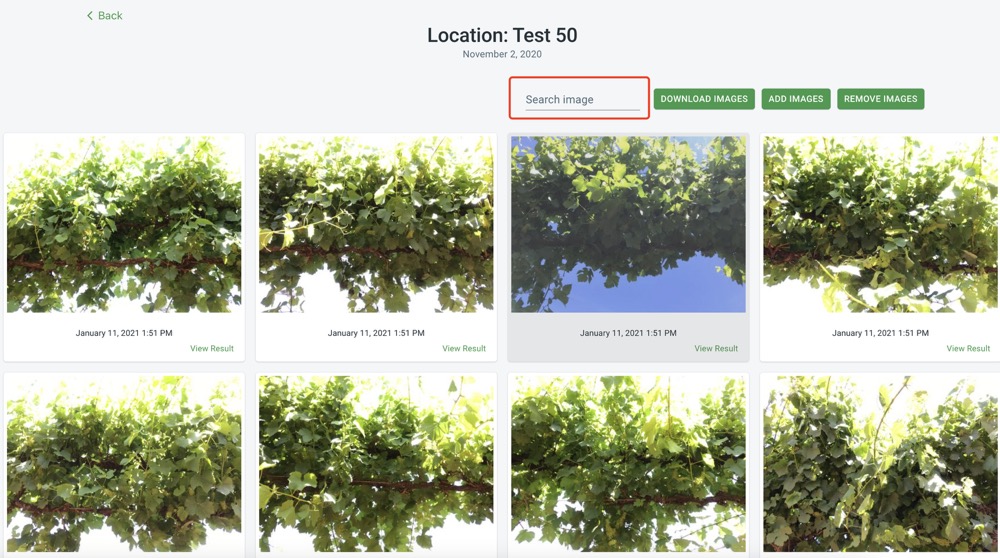
Now that you have identified the images that are producing these results you can use the "Search Image" function in the VitiCanopy Web app to search for those images via their “id”. Once you have identified an image, select the image and click "Remove Images" to delete the image.
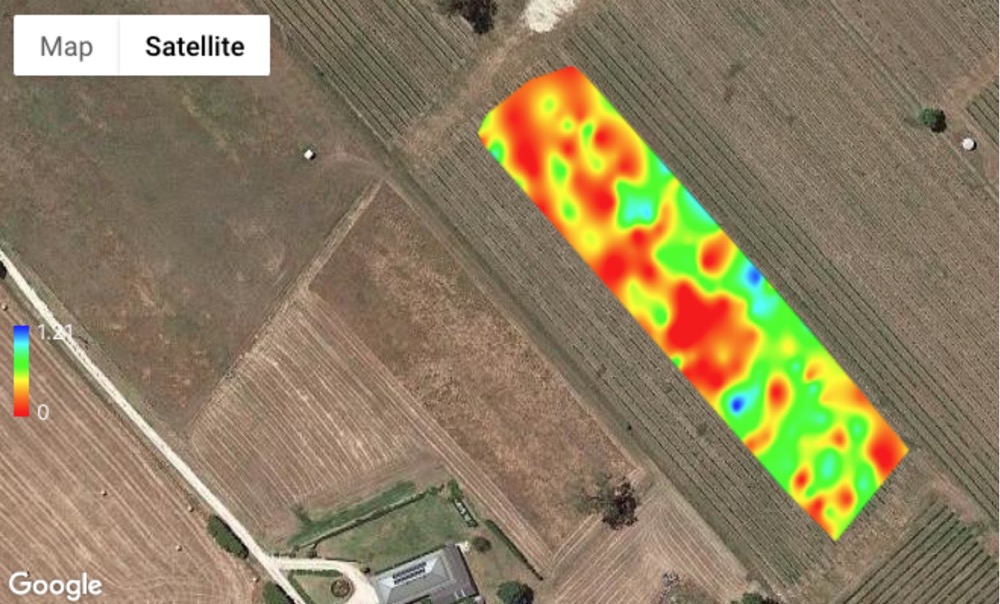
When you have identified and deleted all the images producing bad results (normally is one or two in a block), you can reload the map that should now show the true PAI variability in the block.
I would like to know more about how VitiCanopy has been calibrated
If you have further questions, please do not hesitate to contact us at vinebalance@adelaide.edu.au and we will be in touch with you soon.
Or if you are interested in further reading on VitiCanopy please follow the links to our recent open access publications below:
https://www.mdpi.com/1424-8220/16/4/585
https://ives-technicalreviews.eu/article/view/2544